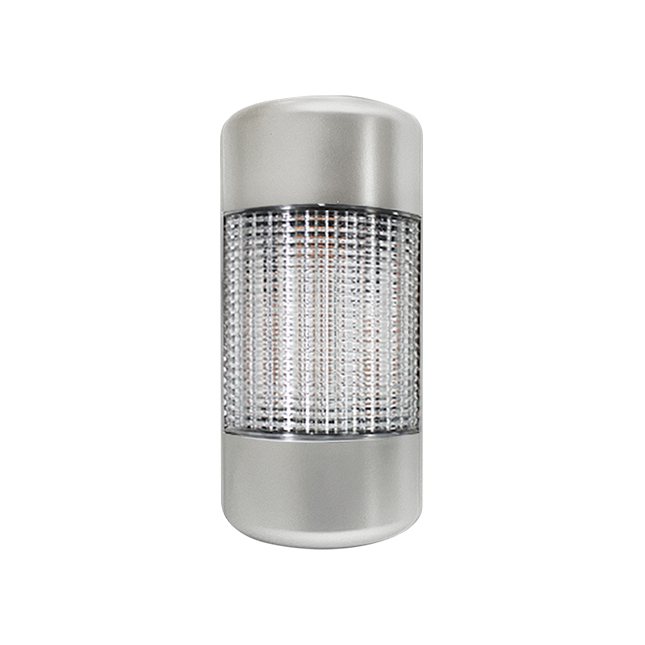
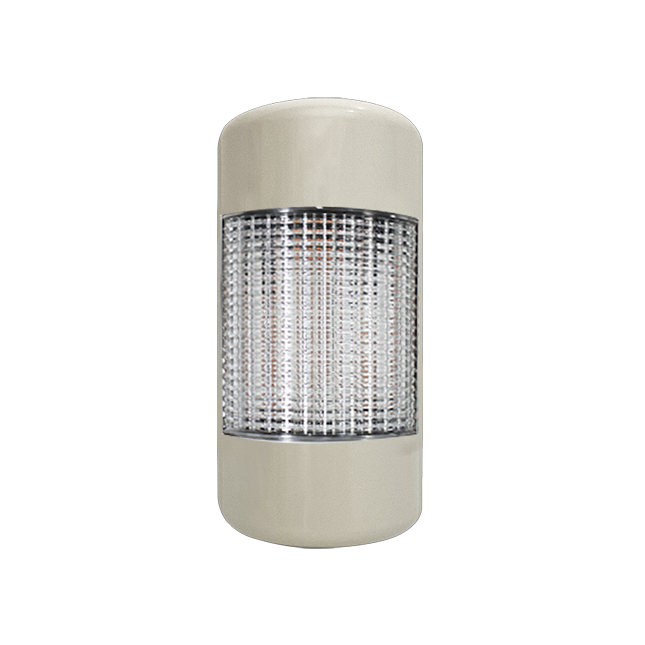
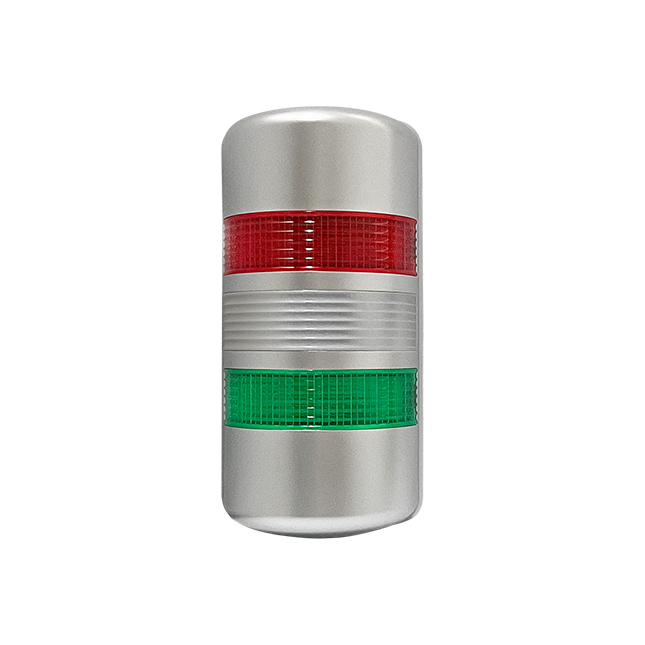
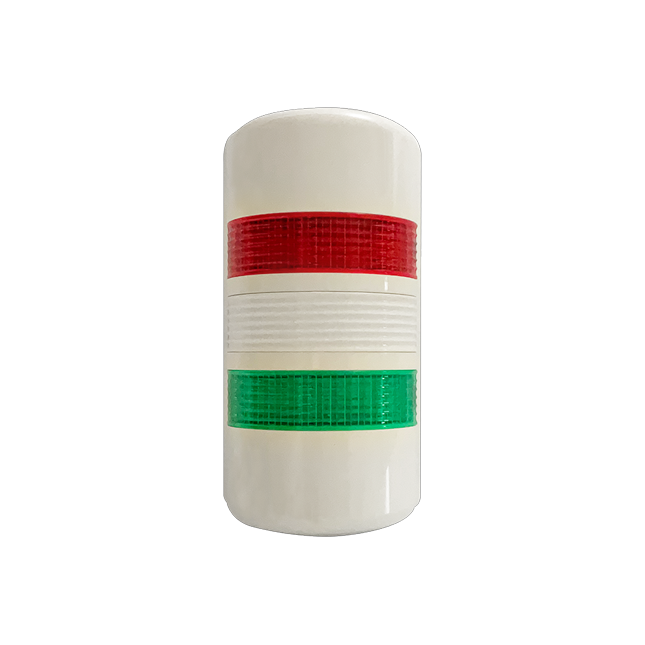
AUS Series
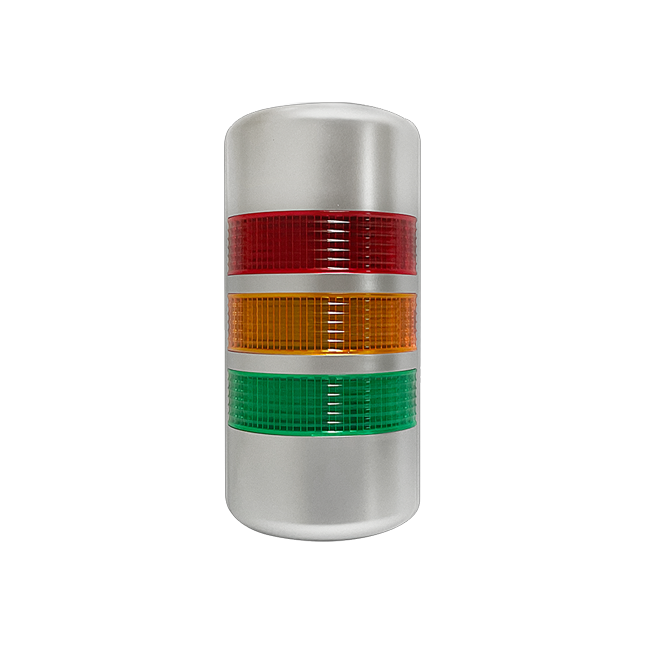
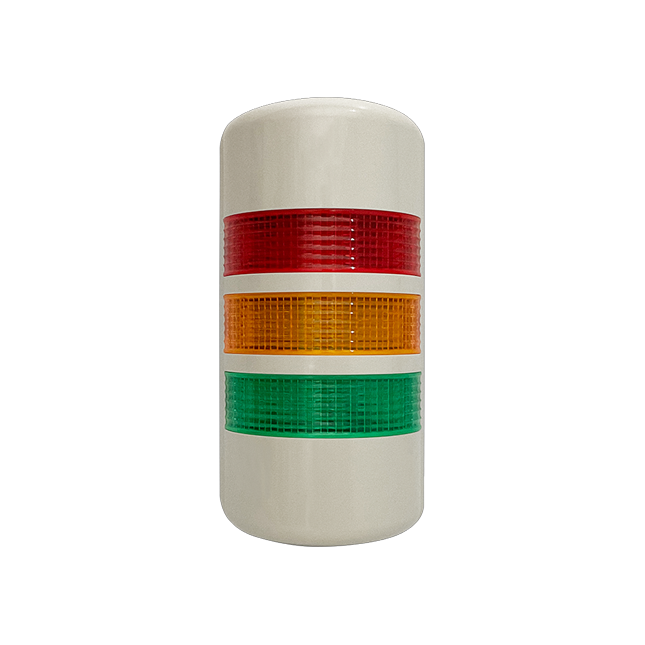
Semicircular Side Mount LED Signal Tower Light
| Voltage |
AC110~220V, DC12~24V |
| Decibel |
85dB |
| Audible Option |
Buzzer : buzzer ( Steady – long sound (beep~), Steady/flashing – long sound (beep~), short sound (beep-beep) |
| Material |
Lens [PC], Body [ABS], Cover [ABS] |
| Operating Temperature |
-20 ~ 50℃ (freezing free) |
Product Description
Product features
01Semicircular wall attachment with small protrusions to minimize damage with slim protrusions
02Clear color with internal transparent lens and external colored diffusion lens
03IP55 structure allows outdoor use
04Installation of buzzer holes facing down
05There are two types of the main body, silver or regular ivory
06Audible Option : buzzer ( Steady – long sound (beep~), Steady/flashing – long sound (beep~), short sound (beep-beep)
08Material : Lens [PC], Body [ABS], Cover [ABS]
09Operating Temperature : -25 ~ 50℃ (freezing free)
형명식별법
| number |
Product Category |
composition |
Configuration contents |
| 1 |
Series |
B |
beige |
| S |
silver |
| 2 |
Type |
L |
LED Lighting type |
| LF |
LED Lighting/Flashing |
| 3 |
Floor |
1 |
RYG |
| 2 |
2Floor |
| 3 |
3Floor |
| 4 |
Audible Option |
No indication |
Doesn’t exist |
| AB |
buzzer |
| 5 |
voltage |
110/220 |
AC110 ~ 220V |
| 12/24 |
DC12 ~ 24V |
Product Specifications
| Type
| Layer
| Voltage
| Current
| Weight
| Color
|
AUS-BL/SL
AUS-BLF/SLF |
1 |
AC110V / AC220V |
0.088A / 0.058A |
330g |
(1floor) RED (R) ●
YELLOW (Y) ●
GREEN (G) ●
|
| DC12V / DC24V |
0.390A / 0.190A |
290g |
| 2 |
AC110V / AC220V |
0.028A / 0.020A |
330g |
(1floor) RED (R) ● (2floor) GREEN (G) ●
|
| DC12V / DC24V |
0.060A / 0.110A |
350g |
| 3 |
AC110V / AC220V |
0.028A / 0.020A |
340g |
(1floor) RED (R) ● (2floor) YELLOW (Y) ● (3floor) GREEN (G) ●
|
| DC12V / DC24V |
0.086A / 0.145A |
360g |
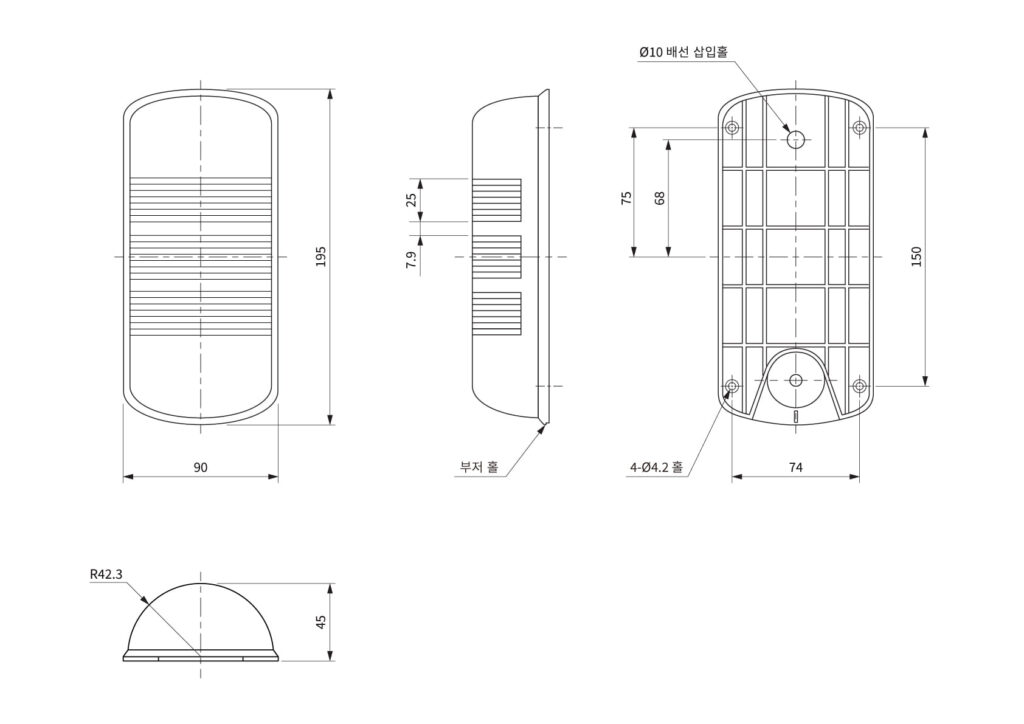
Appearance drawing
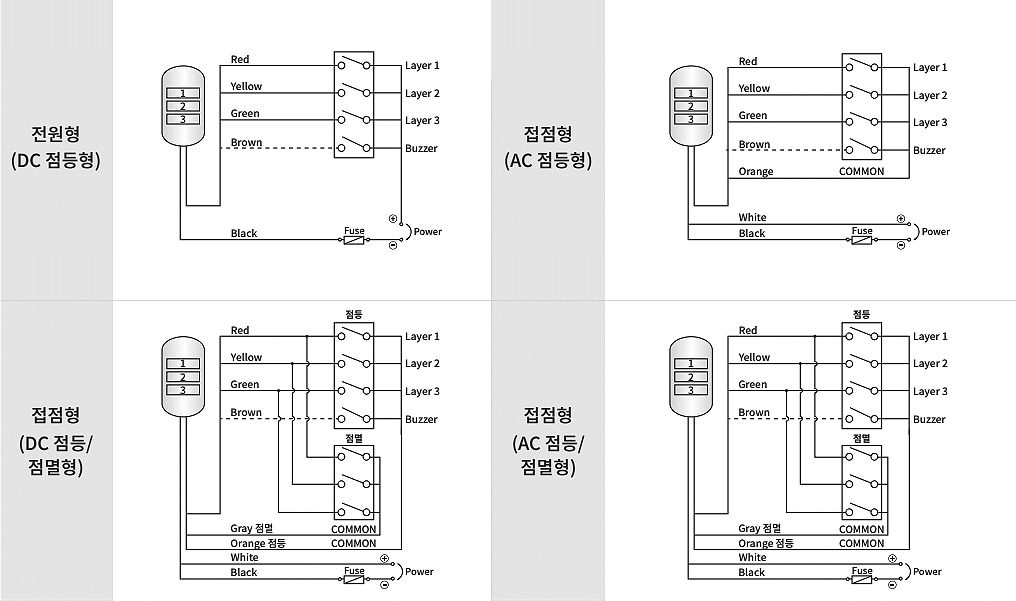
Wiring diagram
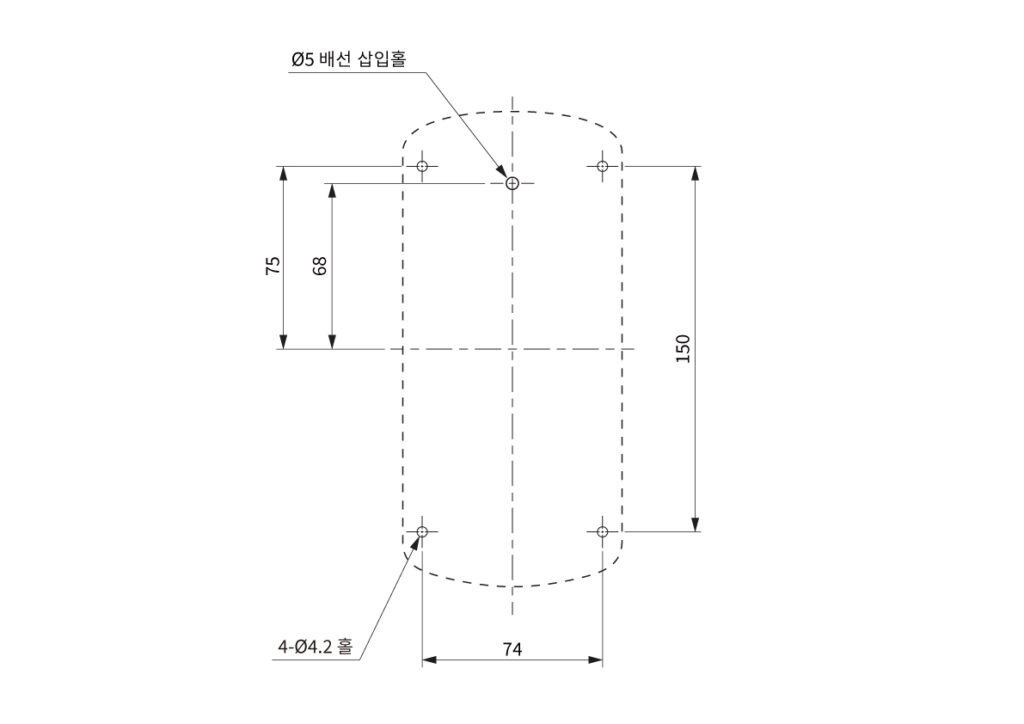
Installation method and Standard
- The mounting hole formed in this product is 4-Ø4.2mm. (M4 bolt)
- When installing the product, install the buzzer hole toward the floor.
- When installing, insert the bolt through the machined hole and then tighten the flange nut from the opposite side of the mounting surface.
- Insert the LOCK under the cover first, then press it with the until it clicks.
